A water softener salt bridge is a common issue where a hard crust of salt forms in the brine tank, preventing the salt from dissolving properly and regenerating the resin. This problem can significantly reduce your water softener’s efficiency, leading to hard water throughout your home. Fortunately, fixing a salt bridge is a straightforward process that typically takes less than 30 minutes with basic tools.
Understanding What Causes a Salt Bridge
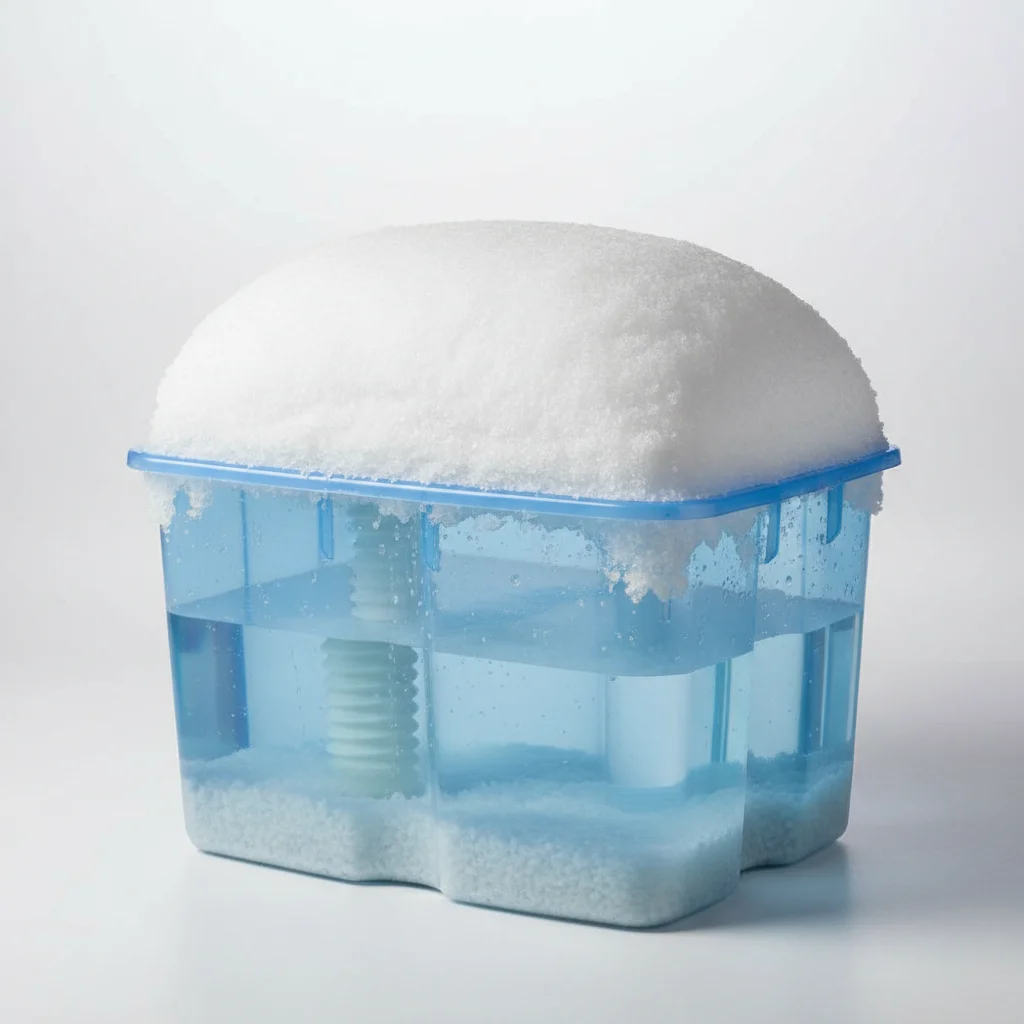
Salt bridges form when the salt in your brine tank solidifies into a hard crust, usually due to high humidity, overfilling the tank with salt, or using the wrong type of salt. When a salt bridge occurs, the water cannot reach the salt below the bridge, meaning the brine solution necessary for regeneration cannot be created. This leaves your water softener unable to perform its primary function of removing hard minerals from your water supply.
High humidity in the area surrounding your water softener can cause the salt to absorb moisture and clump together. Similarly, consistently overfilling the brine tank can compact the salt, making it more susceptible to bridging. Using low-quality or irregular-shaped salt can also contribute to this issue, as it may not dissolve evenly.
Identifying a Salt Bridge in Your Water Softener
The most obvious sign of a salt bridge is the presence of hard water in your home, even though your water softener appears to be running. You might notice soap not lathering as well, spots on dishes, or dry skin and hair. To confirm a salt bridge, open the lid of your brine tank and look inside. If you see a solid, crusty layer of salt that doesn’t move when you gently poke it, you likely have a salt bridge. The water level might also appear unusually high, as it’s unable to penetrate the salt layer.
Step-by-Step Guide to Breaking a Salt Bridge
|
Our Picks for the Best Water Softener in 2026
As an Amazon Associate I earn from qualifying purchases.
|
||
| Num | Product | Action |
|---|---|---|
| 1 | Crystala Filters Portable RV Water Softener, 16,000 Grain with Stainless Steel Garden Hose Quick Connects for RVs, Trailers, Boats, Mobile Car Washing, Pressure Washing |

|
| 2 | Electronic Water Descaler System for Whole House, Salt-Free Water Softener - Compatible with Most Pipes, Prevents Limescale Build-Up, Easy Install & Maintenance-Free |
|
| 3 | VEVOR RV Water Softener, 16,000 Grain Portable Water Softener, with 3/4" Brass Fittings and 42" Hose, Soften Hard Water Filter System for RVs, Trailers, Boats, Mobile Car Washing, Pressure Washing |
|
| 4 | iSpring ED2000 Whole House Water Descaler, Alternative Electronic Salt-Free Hard Water Conditioner, Reduces Limescale Prevent Deposits Build-up, Different from a Water Softener |
|
| 5 | H&G Lifestyles Whole House Water Softener 32,000 Grains, NSF certified Whole Home Water Filtration System for Well & City Water, Remove Calcium Magnesium, Food Grade Resin, Silver-Enhanced, 700,000 Gl |
|
| 6 | On The Go OTG4-VM-DBLSOFT Portable Compact Double Standard 16,000 Grain Water Softener with Drinking Water Safe Brass Fittings (NOT made in China, assembled by U.S. Workers in Indiana |
|
| 7 | RV Water Softener System with Heavy Metal Filter & Protective Cover | 16,000 Grain Capacity | Removes Odors, Extends Resin Life 15% | Universal Fit for Motorhome, Camper, Travel Trailer |
|
| 8 | RVGUARD 16,000 Grains Portable Water Softener for RV, Reduces Hardness & Minerals & Improve Water Quality, Protects Water Systems from Hard Water Damage |
|
| 9 | RV Water Softener with Water Hose, 16000 Grains 3/4" Brass Fittings Food-Grade Resin Soften Hard Water Improve Water Quality Portable Water Softener for RV, Trailers |
|
| 10 | PRO+AQUA 16,000 Grain Portable Water Softener for RV, Trailers, Boats, Mobile Car Wash, Pressure Wash – Protects Water Systems from Hard Water Damage and Corrosion, with Pre-Filled High-Capacity Resin |
|
Breaking a salt bridge is a relatively simple task. First, unplug your water softener to prevent it from cycling during the process. Next, use a long, sturdy tool like a broom handle or a PVC pipe to carefully break up the salt bridge. Gently push down on the hardened salt, working your way around the edges and then towards the center. Be cautious not to damage the internal components of the brine tank, especially the brine well or air check valve. Once the bridge is broken, the salt should fall to the bottom of the tank, allowing water to flow freely again. You may need to remove some of the broken salt chunks if they are too large to dissolve quickly.
- Unplug the water softener from its power source.
- Use a broom handle or similar sturdy tool to gently break the salt crust.
- Work from the edges inward, being careful not to damage internal parts.
- Remove any large, undissolved salt chunks if necessary.
- Plug the water softener back in and initiate a manual regeneration cycle.
Preventing Future Salt Bridges
To prevent salt bridges from reoccurring, consider these tips. Always use high-quality, pure salt specifically designed for water softeners, such as pellet or solar salt. Avoid using rock salt, which often contains impurities that can lead to bridging. Do not overfill your brine tank; aim to keep the salt level at least 4-6 inches below the top of the tank. Regularly check your brine tank, ideally once a month, to ensure the salt is dissolving properly and there are no signs of a bridge forming. Maintaining proper humidity levels around your water softener can also help.
When to Call a Professional
While most salt bridges can be resolved with a DIY approach, there are instances when professional help might be necessary. If you’ve attempted to break the salt bridge and are still experiencing hard water, or if you suspect damage to your water softener’s internal components, it’s best to contact a qualified technician. They can diagnose underlying issues, such as a faulty brine valve or injector, and ensure your system is functioning optimally. Regular maintenance checks by a professional can also help prevent future problems and extend the lifespan of your water softener.
Frequently Asked Questions
What is a water softener salt bridge and how does it form?
A water softener salt bridge is a hard crust of salt that forms in the brine tank, preventing salt from dissolving and regenerating the resin. It typically forms due to high humidity, overfilling the tank, or using the wrong type of salt.
What are the signs that indicate a salt bridge in my water softener?
The most common sign of a salt bridge is the presence of hard water in your home, despite the softener running. You might notice soap not lathering, spots on dishes, or dry skin and hair. Visually, a solid, crusty layer of salt in the brine tank confirms it.
How long does it take to fix a water softener salt bridge?
Fixing a water softener salt bridge is a straightforward process that typically takes less than 30 minutes. You will need basic tools like a broom handle or PVC pipe to gently break up the hardened salt.
What type of salt should I use to prevent salt bridges?
To prevent salt bridges, always use high-quality, pure salt specifically designed for water softeners, such as pellet or solar salt. Avoid using rock salt, which often contains impurities that can lead to bridging.
When should I call a professional for a salt bridge issue?
If you've attempted to break the salt bridge and are still experiencing hard water, or if you suspect damage to your water softener's internal components, it's best to contact a qualified technician. They can diagnose underlying issues and ensure optimal system function.
How to Break a Water Softener Salt Bridge
This guide outlines the steps to safely break a salt bridge in your water softener's brine tank, restoring its efficiency.
First, unplug your water softener from its power source. This prevents the unit from cycling unexpectedly during the process and ensures your safety.
Use a long, sturdy tool like a broom handle or a PVC pipe. Gently push down on the hardened salt, working your way around the edges and then towards the center of the brine tank.
Be cautious not to damage the internal components of the brine tank, especially the brine well or air check valve. Apply steady, gentle pressure rather than forceful jabs.
Once the bridge is broken, the salt should fall to the bottom of the tank. If there are any large, undissolved salt chunks, remove them to ensure proper dissolution.
Plug the water softener back in after the salt bridge is cleared. Initiate a manual regeneration cycle to allow the system to flush and begin softening water effectively again.
Get our weekly buyer guide
Practical specs, not advice. Unsubscribe anytime.
My water softener was acting up, and I was worried it was a major issue. Turns out, it was just a salt bridge, exactly as described. The instructions for breaking it up were clear and easy to follow. It really did only take me about 20 minutes, which was a huge relief. My water feels soft again!
I was getting so frustrated with my water softener not regenerating properly. The explanation about high humidity causing salt bridges made so much sense for my basement setup. I’ve adjusted my salt levels and am keeping an eye on the humidity, and it seems to have solved the problem completely. No more hard water spots!
I’ve been dealing with hard water for ages, and I finally figured out it was a salt bridge after reading about it. The tip about not overfilling the tank with salt was a game-changer for me. My system is running so much better now, and I can actually feel the difference in my skin and hair. So glad I found this info!
The advice on fixing the salt bridge was pretty good, and it did help me get my system working again. However, I still think using the right type of salt is a bit vague. I wish there was a more specific recommendation on which brands or types are best to avoid this problem in the first place. It took me a while to figure out what ‘wrong type’ really meant.